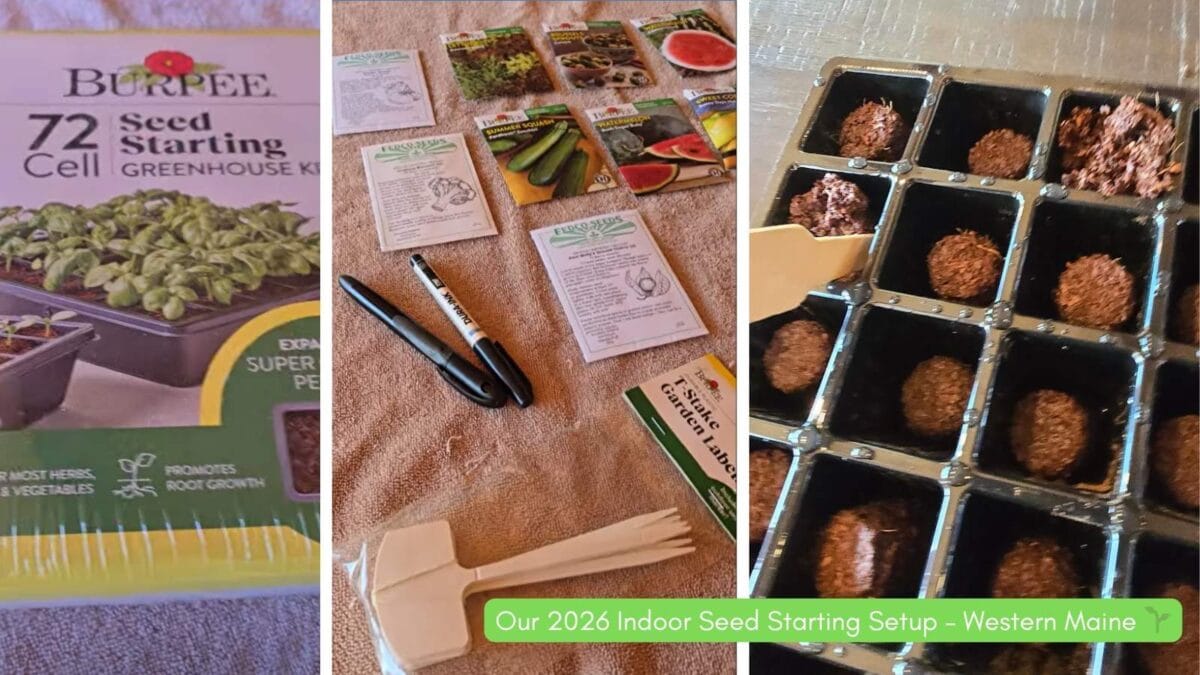
Our 2026 seed starting guide for Western Maine covered the indoor part. This is the next step, when those small seedlings had to face wind, cold nights, and real sun.
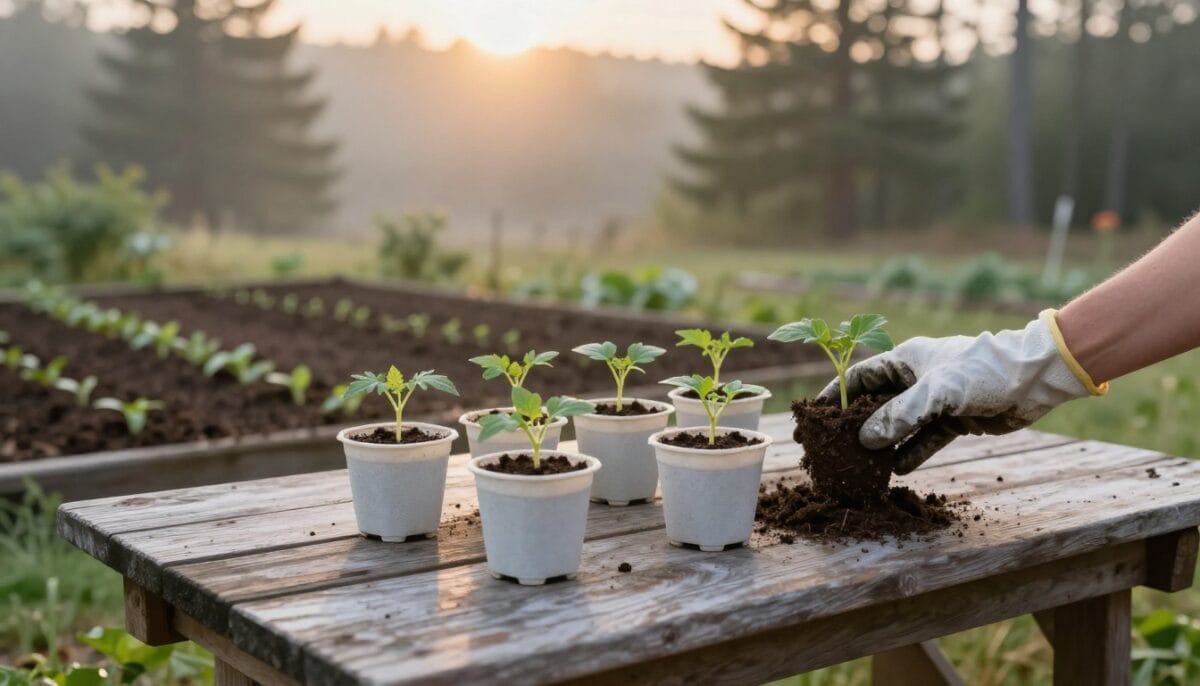
We didn’t rush them into the garden beds. Instead, we focused on transplanting seedlings outdoors in pots first, moving several crops into outdoor pots before planting them in the ground. That extra step helped them adjust.
Here is what we transplanted, when we did it, and the tools that made moving seedlings outdoors easier.
Key Takeaways of Moving Seedlings
- Use Pots as a Transition: Move seedlings into intermediate pots before planting in garden beds to help them acclimate to Western Maine’s unpredictable weather and reduce transplant shock.
- Prioritize Hardening Off: Gradually exposing plants to wind and sunlight over a week is essential to prevent leaf burn and prepare them for outdoor conditions.
- Monitor Soil Conditions: Use a moisture meter and check soil temperature before transplanting; if the ground feels cold or the moisture levels are inconsistent, keep plants in their pots a little longer.
- Mind the Timing: Wait for sturdy stems and several true leaves, and always track the local frost forecast to ensure sensitive crops are not exposed to cold snaps.
- Gentle Transplanting: Choose overcast days for planting and use organic matter and mulch to help the seedlings establish a healthy root system in their permanent home.
Why we chose Transplanting Seedlings Outdoors in Pots First
In Western Maine, spring often plays tricks on us. A warm afternoon can be deceptive, as a single cold night can undo weeks of progress. We chose to start our seedlings in pots first to gain better control over their development and survival.
Transitioning from an indoor environment to the unpredictable outdoors can be jarring, so potting up provides a middle ground for managing these seedlings before they hit the garden beds.

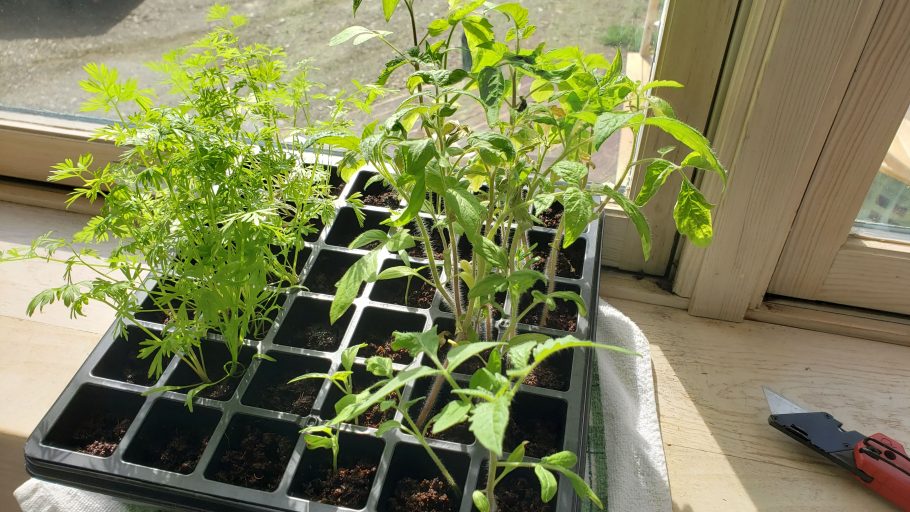
Our hardy cold-weather crops, like broccoli and cabbage, moved out first in mid-May. Our sensitive warm-season crops, such as tomatoes, peppers, herbs, and flowers, waited until late May or early June. Using pots also helped us stabilize leggy seedlings by burying them deeper in a high-quality potting mix, which encourages stronger root growth.
Before moving plants into the garden, we prioritize hardening off. This process of gradual exposure to the elements is essential for acclimatizing plants to wind and sun. We start by placing the pots in the shade for a few hours, slowly increasing their exposure to direct sunlight over the course of a week to prevent leaf burn.
We also use a soil moisture meter to ensure our pots have proper drainage via a drainage hole. If the top looks dry but the reading stays damp below the surface, we wait. This keeps our seedlings from sitting in water or drying out completely.
Before transplanting, we also check the soil temperature; if the ground feels cold to the touch, we know the seedlings are better off waiting in their pots.
What we looked for before moving seedlings outside
We wait until our seedlings show signs of being ready for the move. We look for sturdy stems and the development of several true leaves, noting that the initial cotyledons have usually served their purpose by this stage.
Because the transition from an indoor environment can be stressful, we keep a close eye on the weather forecast. We look for a string of mild days where the risk of frost has passed. Hardening off is never a step to skip, as it prepares the plants for the intensity of direct sunlight and varying temperatures.
By ensuring the soil temperature is adequate and the seedlings are properly hardened off, we set our garden up for a much more successful season.
The transplanting process: how we go about Transplanting Seedlings Outdoors in Pots First
Once the timing looked right, we prepared to transplant seedlings outdoors. For the best results, we try to schedule our transplanting on an overcast day to protect the plants from harsh sun as they adjust.
To ensure a smooth transition into our vegetable garden, we follow these steps:
- Prepare the garden soil by mixing in plenty of organic matter to improve drainage and nutrient density.
- Dig a planting hole deep enough to accommodate the root ball of each seedling.
- Gently tease the root ball to encourage outward growth.
- Place the plant and fill the planting hole, pressing down firmly to remove air pockets.
- Apply a light amount of organic fertilizer to give the seedlings a boost.
- Finish with a layer of mulch to retain moisture and suppress weeds.
When it came to tomato plants, we adjusted our technique. Because tomato plants form adventitious roots along their stems, we often use trench planting to bury part of the stem. Most other seedlings stayed at the same level they had in their pots to avoid burying the crown.
Moving seedlings outdoors through this staged method helped them avoid transplant shock. By using pots first, the seedlings grew strong, and by the time they hit the garden soil, the sun and breeze were not such a shock.
The tools we reached for again and again
A hand trowel did most of the digging. Gloves helped when the garden soil was cold and rough. A watering can gave us a slow soak without washing out the roots, which is vital for early root development.
Plant labels saved us from guessing later (although they usually get lost), and our soil meter kept us honest when our fingers told us the surface looked dry.

What helped seedlings settle in faster
The first few days mattered most. We checked that the true leaves looked healthy and hydrated. We watered low and slow, not over the leaves, to prevent disease.
If the sun was intense, we provided temporary shade for a day or two. We also checked for drooping or dry pockets around the root ball. Using the moisture tool again after transplanting helped us avoid overwatering, as strong starts usually come from steady care rather than extra fuss.
Using a light fertilizer and plant food during transplanting also provided our seedlings with the nutrients they needed to establish themselves in their new environment.
Frequently Asked Questions: Transplanting Seedlings Outdoors in Pots First
Why is hardening off so important for my seedlings?
Hardening off bridges the gap between the protected, climate-controlled indoor environment and the harsh outdoor elements. Skipping this step can lead to sunscald, wind damage, or instant transplant shock, which can stunt or kill your seedlings.
How can I tell if my seedlings are ready to be planted in the garden?
Your seedlings are generally ready when they have developed several sets of true leaves and have thick, sturdy stems. Ensure they have been fully hardened off and that your local area is officially past the last expected frost date.
Can I move all my vegetable starts outside at the same time?
No, different crops have different temperature tolerances. Hardy vegetables like broccoli and cabbage can head out in mid-May u003ca href=u0022https://ruralarealife.com/rural-area-living/u0022u003ein Western Maineu003c/au003e, while sensitive plants like tomatoes and peppers must wait until late May or June once the soil has warmed up.
What should I do if my seedlings look wilted right after transplanting?
It is normal for plants to show slight signs of stress while they adjust to their new environment. You can provide temporary shade during the hottest parts of the day and keep the soil consistently moist, but be careful not to overwater them as they establish their roots.
Conclusion: Planting Seedlings Outdoors
What worked best was simple: start your seedlings in pots, watch the weather closely, and do not guess on moisture levels. In a small rural garden, that kind of patience saves plants. Always remember to check your local last frost date before planting tender varieties, and refer to your seed packet for specific spacing and depth requirements.
In our area, the last frost date is usually late May or early June. We can bring in these pots easily if the temperatures dip. We have about 110 days for growing these plants!
We will keep sharing updates as the season moves along. So far, the process of hardening off our seedlings has led to stronger plants and far fewer setbacks in the garden.
This slower, more deliberate method has truly paid off for our seasonal growth.

Lisa moved from Southern New England to the rural mountains of Maine in 2020 with her husband. Drawing from her hands-on experience with slower-paced rural living, she shares the beauty, honest realities, and simple pleasures of life in the Maine woods, along with their rural travels across the United States and abroad.